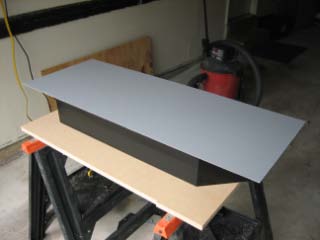
| For the control panel I'm using 3/4 inch MDF. It's extremely easy to cut, drill, and rout.
(The rest of the cabinet will be constructed with furniture grade plywood to save on weight.)
The sides of the control panel will be painted, the edges will be covered with T-Molding, and
the top surfaces covered with a laminate.
|
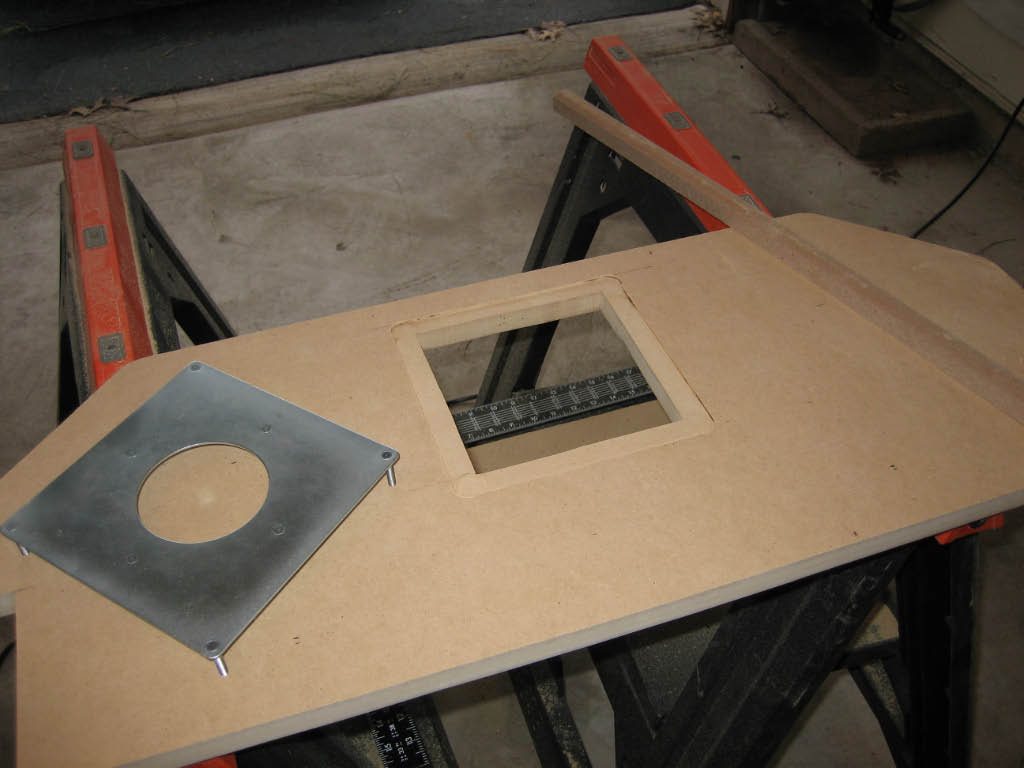
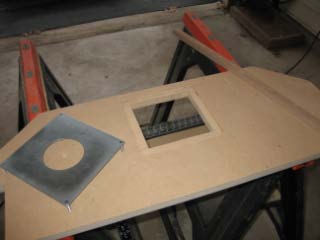
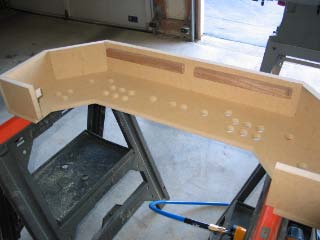
| Here I'm working on the upper deck. I've routed around the opening for the Trackball so that
the mounting plate will be flush with the top of the panel.
All the parts were assembled with wood glue and finishing nails (using a nail gun).
|
|
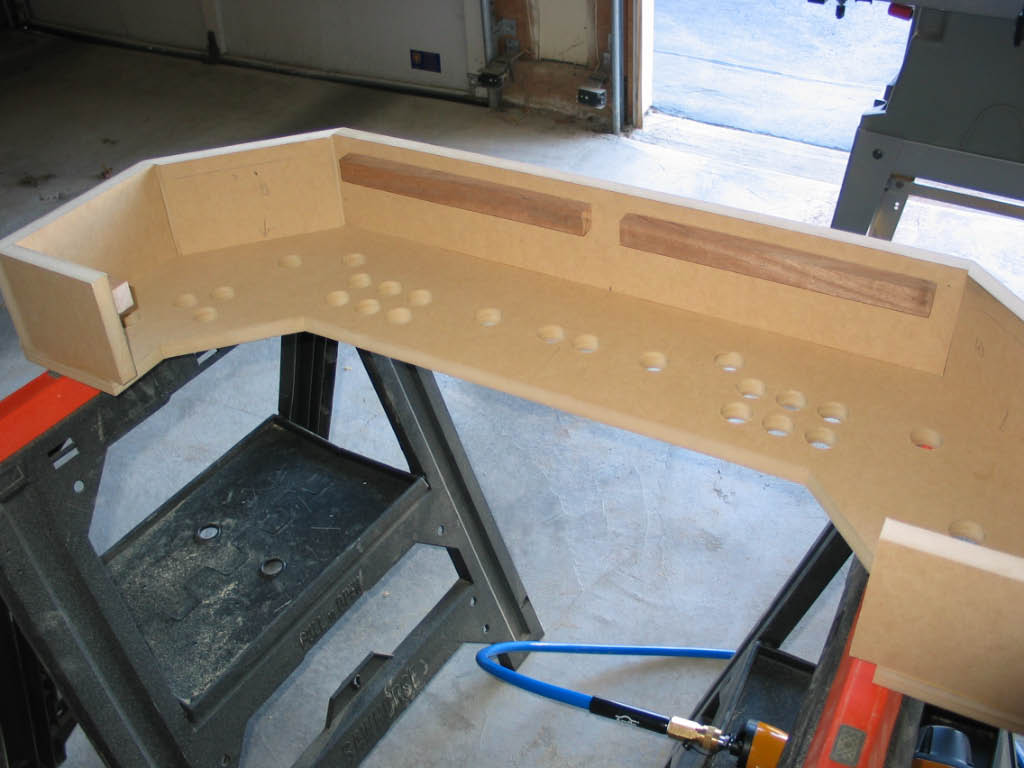
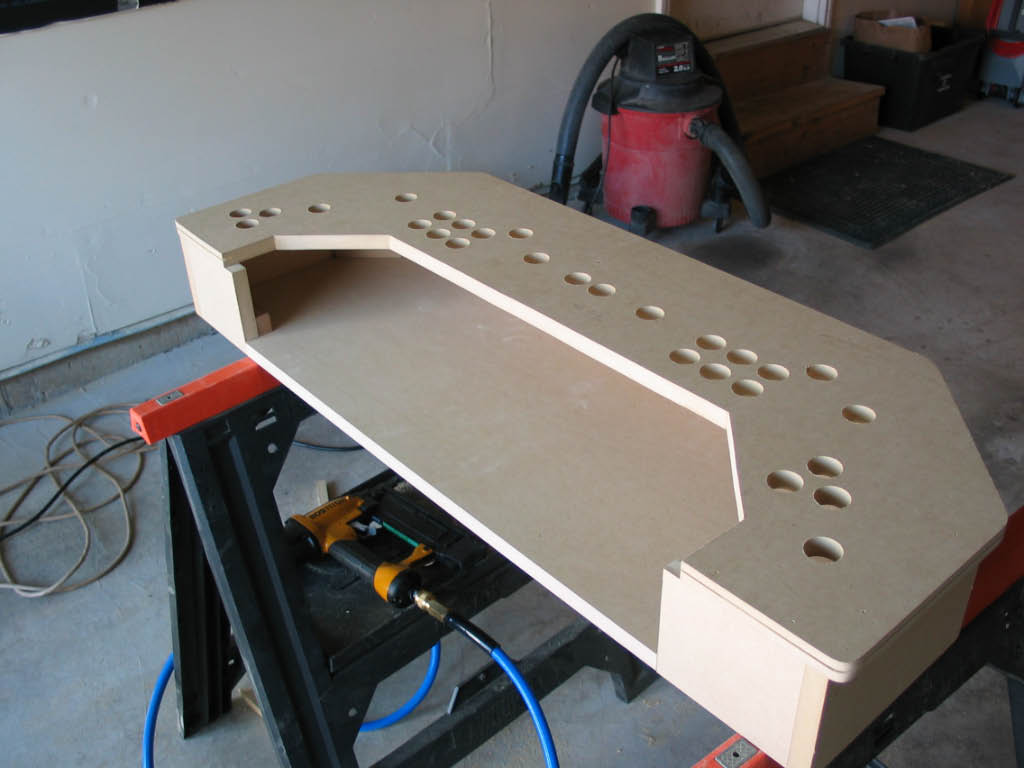
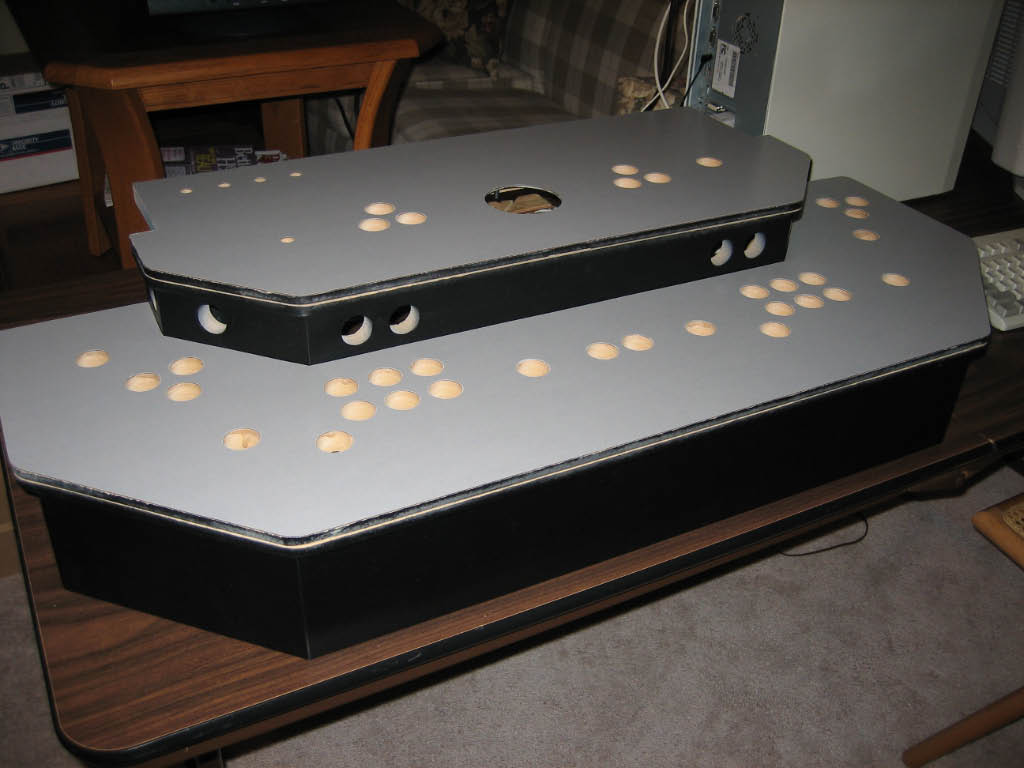
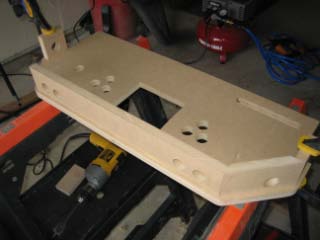
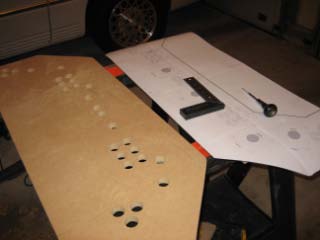
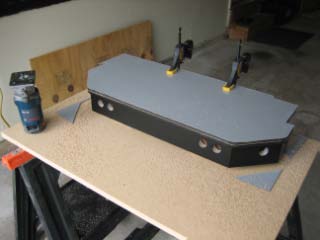
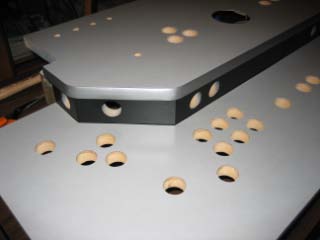
| Here's the lower deck. Using the full scale printed layout from Visio, it was very simple to mark the location of every hole.
All button and joystick holes were drilled using a 1-1/8 inch spade bit with a standard
hand-held drill. When drilling, remember to place a scrap board beneath the panel board for a nice clean hole.
|
|
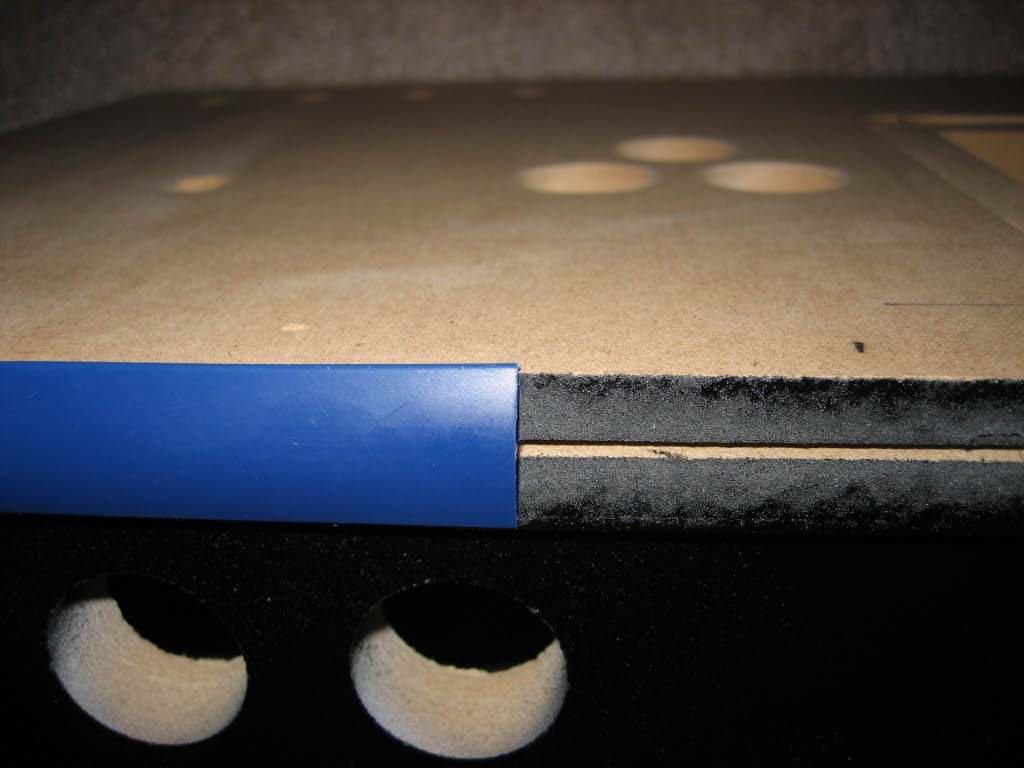
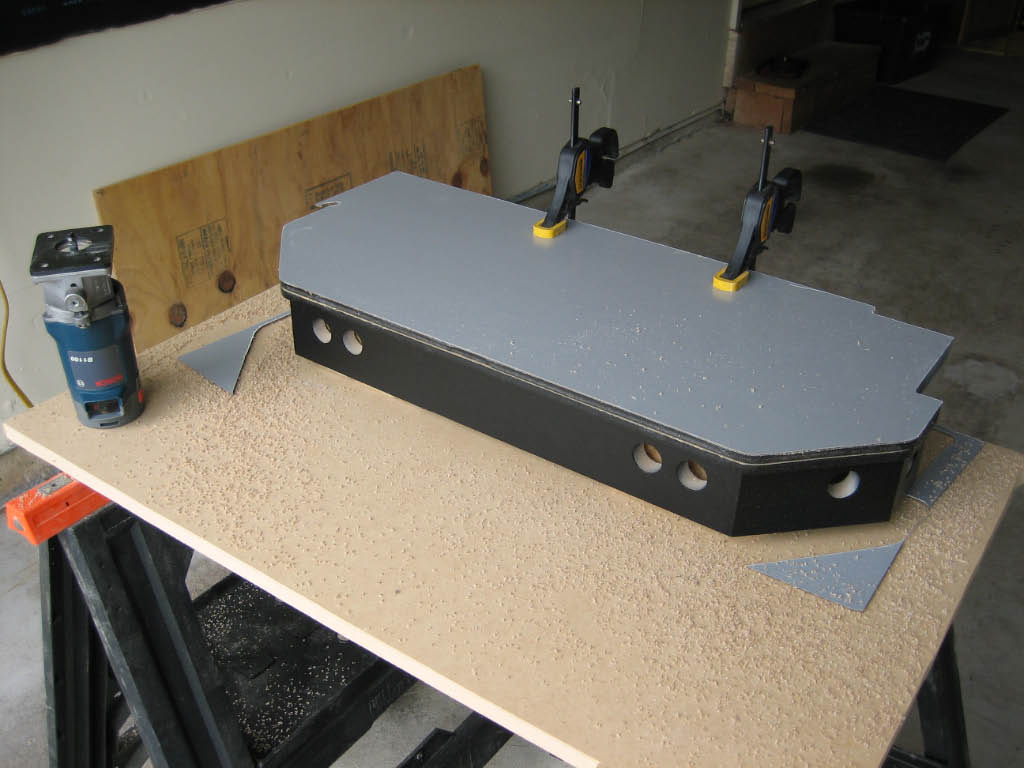
| For the T-Molding groove around the edges, I used the router with a 1/16 inch slot cutter bit.
Rather than center the molding groove on the edge, I offset it slightly high to account for the
thickness of the top surface laminate. This will allow the molding to cover the edge of the laminate, but
leave a bit of the wood showing on the bottom. With the wood painted black, it's not very noticeable.
|


|
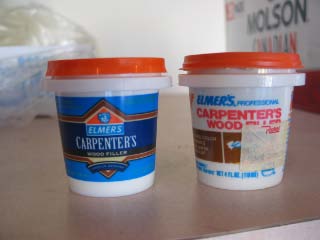
| When I was ready to prep the control panel for painting, I noticed that my container of wood putty
was getting rather old. The price tag on the container was from a store called Rickels which went out
of business many years ago. Plus, I figured the product must have improved over the past 10
years. Turns out, the only thing that changed was the label on the packaging and the price, which went
up 75 cents.
|
|
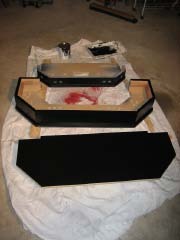
| I hate painting - anything! So for me, painting is the biggest challenge.
I started by applying two coats of primer from a spray can. Next, I applied a gloss black enamel from
a spray can. Even after three coats, I could not achieve a uniform color. Lesson learned, don't use spray
cans for large surfaces. I briefly contemplated trying a pneumatic sprayer, but my compressor is not large
enough.
|
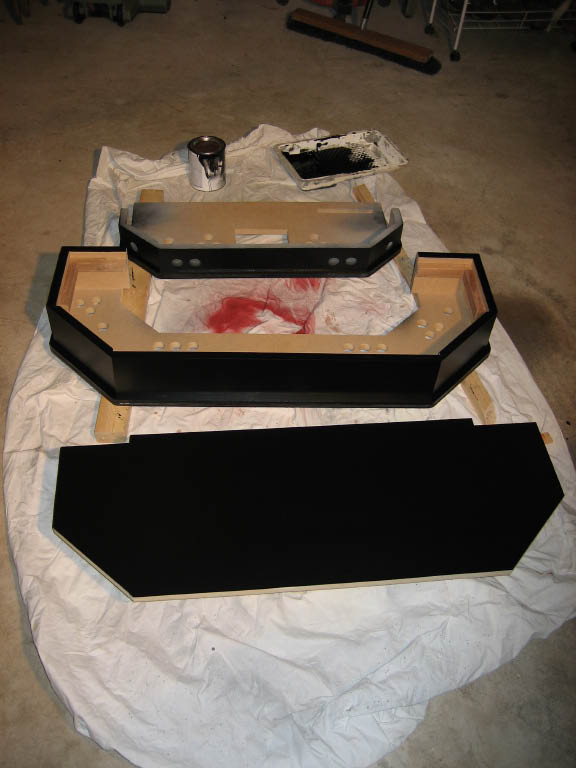
| After reading up on the painting threads at ArcadeControls.com, I decided to try
a foam roller. There also seems to be a debate between using enamel or acrylic paint. From what I read,
enamel paints may provide a harder, more durable surface. By the way, Home Depot no longer stocks any
enamel base paints (for custom colors); bad for the environment according to their paint department. Luckily,
Rust-Oleum makes a Satin Black enamel, which was just what I wanted. I applied one coat, let it dry 24 hours, used 0000
steel wool to remove any burs, cleaned the surface with tack cloth, then a second coat. It's not perfect, but I'm happy with the results.
|
|
| Next comes the top surface laminate. Some months back, I stopped at a local home
improvements store and picked out a bunch of laminate color samples from the hundreds available. Originally, I
had planned on using a simulated stainless steel laminate, but I also found some other very cool colors and
patterns. One in particular I really liked; made by Formica brand, it's called
MicroDot,
and comes in a few colors. I decided to go with black, and ordered a 4x8 sheet from a kitchen cabinet company.
|
| I've never worked with Formica laminate before, so for practice I worked on my prototype
panel. Using tin snips, I rough cut a piece large enough to overhang all sides by 1 inch. The
snips caused the Formica to chip a bit, but that would be trimmed off. Then I applied contact cement to both
the laminate and the MDF surface. After waiting about 10 minutes, I applied a second coat of glue, and then
a third. This piece was rather small, so laying it down did not require any dowels, but I did enlist my friend
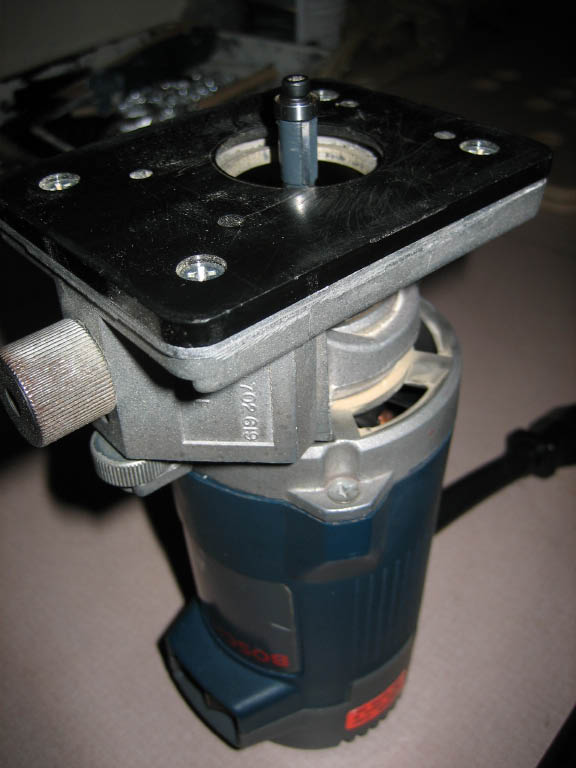
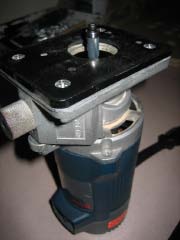
to help. I let it set overnight. The next day I was ready to try the trim router I picked up on eBay and
a 3/8" Flush Trim bit with a guide bearing from MLCSWoodworking.com. Trimming the laminate turned out to be
very easy. For the button holes, I pre-drilled a 1/2 inch hole and then finished with the trim router.
|

|
| Fingerprints - everywhere, ahhhhh! I guess I'm a bit obsessive compulsive, but the black Formica just won't
work for me if it's going to show every fingerprint, which it does. So I've gone back to my original choice, a
simulated Stainless Steel laminate by Wilsonart.
|
| Having worked with the laminate on my prototype panel, I learned a few things.
For the production panel, I pre-cut the laminate by scoring it with a utility knife and breaking it over
a straight edge. This prevents the chipping caused by the snips. I also applied the contact cement a bit
heavier to prevent the need for as many coats.
|
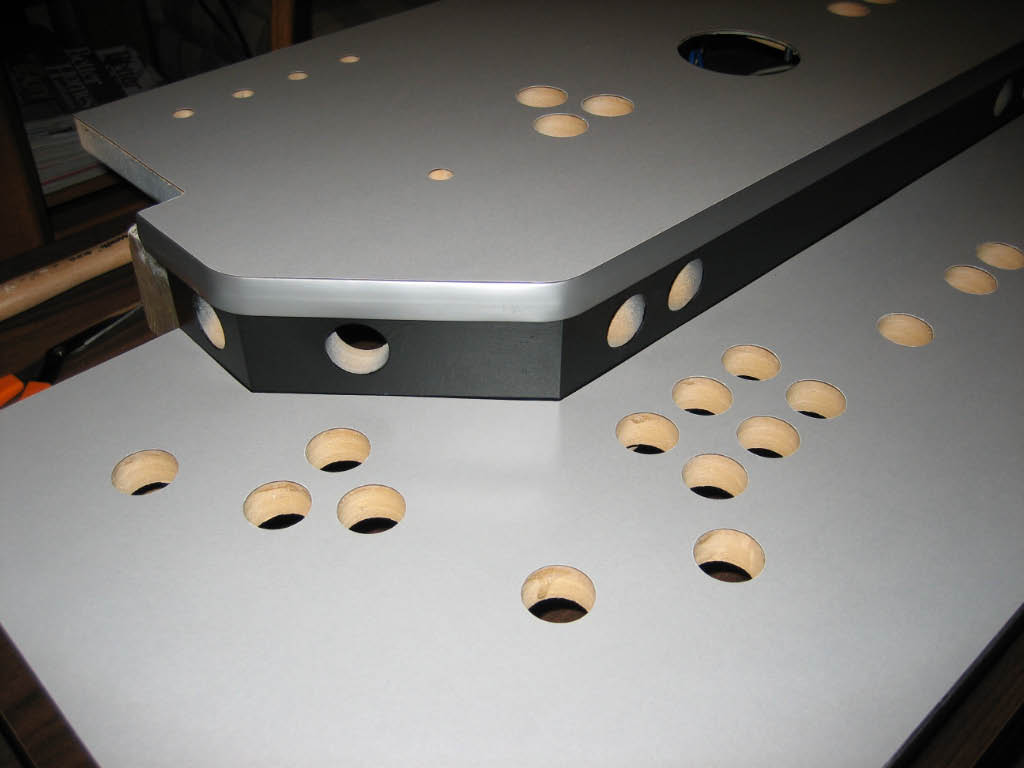
|
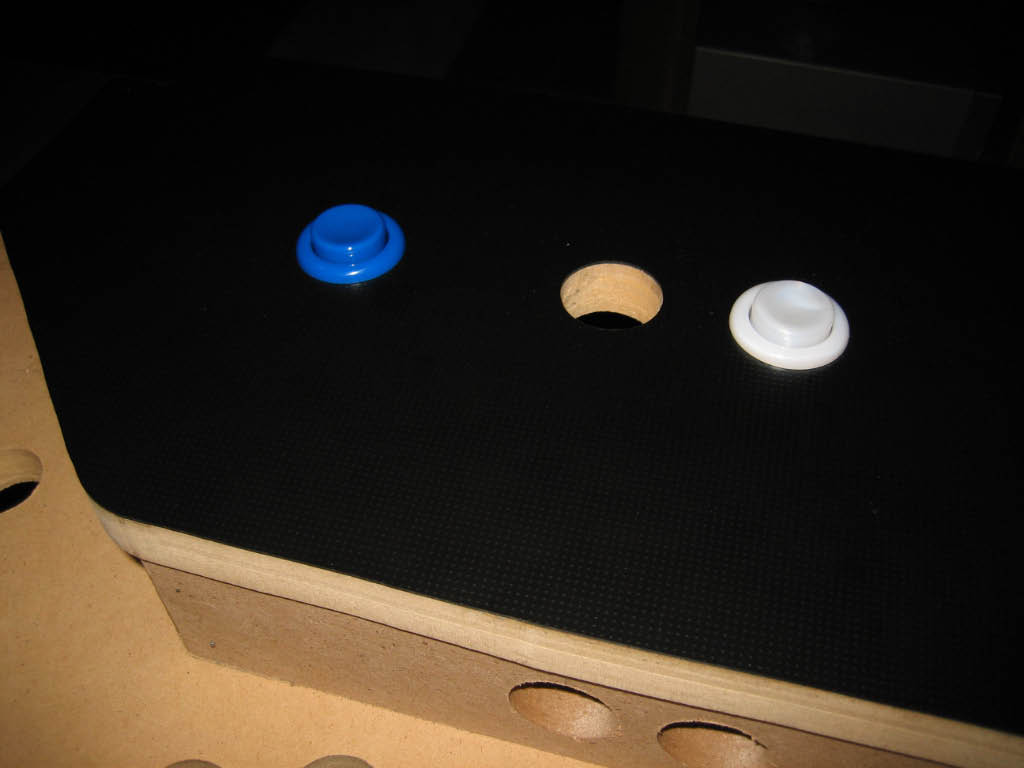
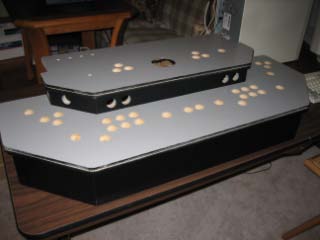
And here's the panel with the lamination completed.
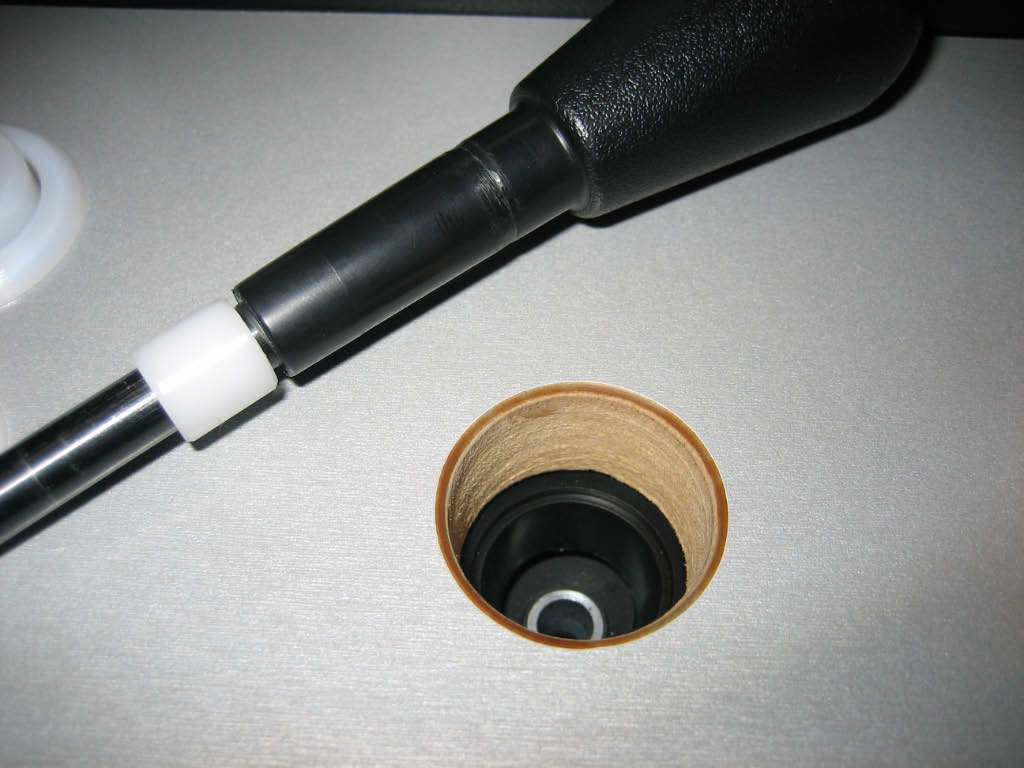
Later, after I had installed and
wired all the controls, I noticed that the routed edge of the laminate was cutting into the joystick shafts.
Eventually this caused the dust washer around each joystick to occasionally hang-up on the lip. To solve the problem,
I used the trim router and a 1/8" round-over bit to bevel the edge of each joystick hole.
|

|
| T-Molding... so many colors! My original thought was to use blue T-Molding to match
the color of the buttons and trackball. I ordered a short length of
Deepspace Blue
from GroovyGameGear.com, but that color turned out to be very dark - almost black in a dimly lit room. So I sent away
for color samples from a number of T-Molding websites. The only other blue was lighter in color than the buttons,
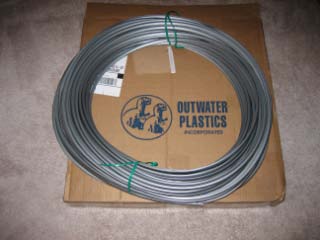
but I thought it was fine. My wife did not. Eventually we settled on Silver (not chrome). Unfortunately, the only
company that carried the silver color
(Outwater Plastics Industries)
only sold the molding in 250 foot coils. That's about 220 feet more than I needed! At least the price was good - .22/ft.
|
|
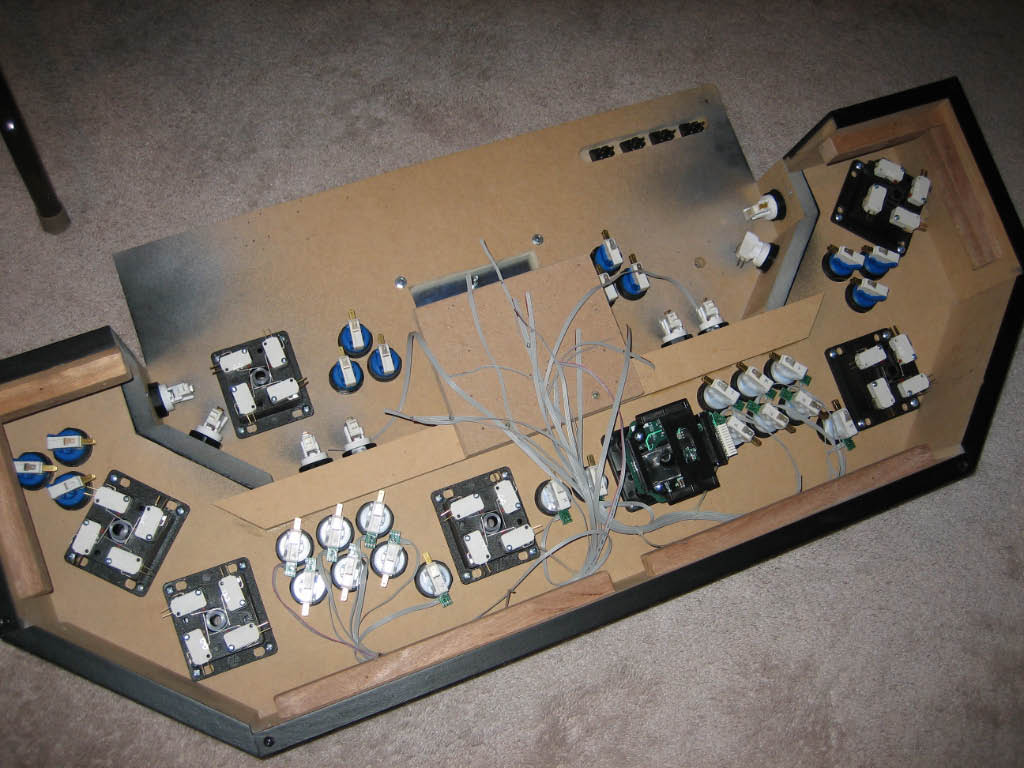
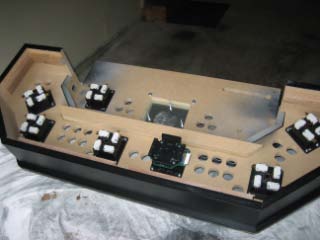
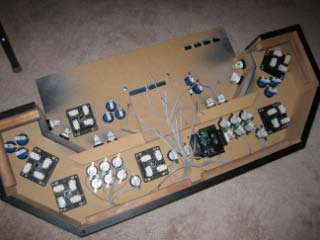
| The last aspect of the control panel construction phase was to install all the joysticks
and buttons. The primary player 1 and player 2 buttons have RGB LEDs with the ribbon cables pre-wired. I also
added a small block of wood to mount the circuit boards.
|
|