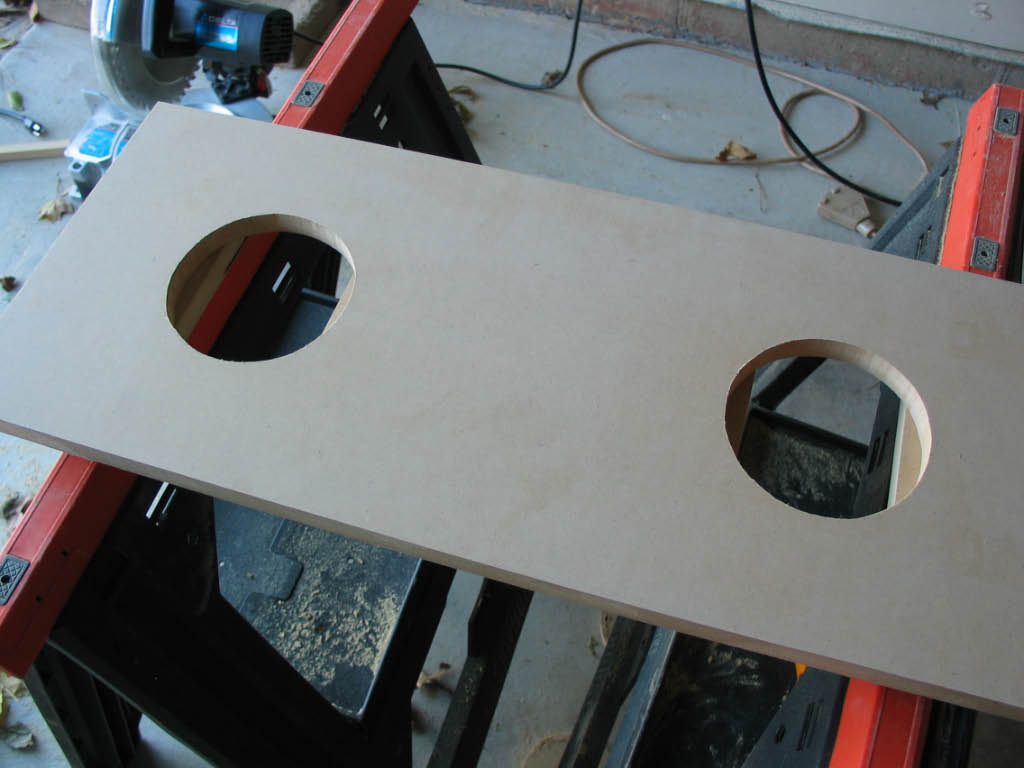
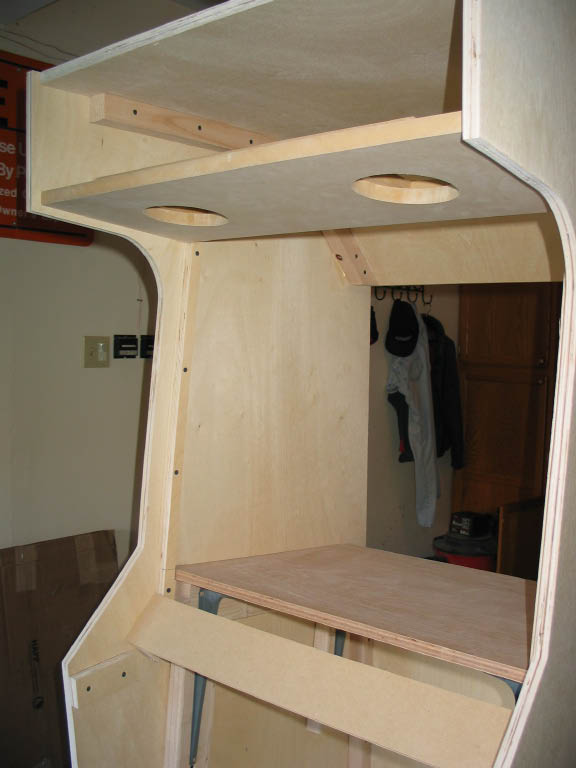
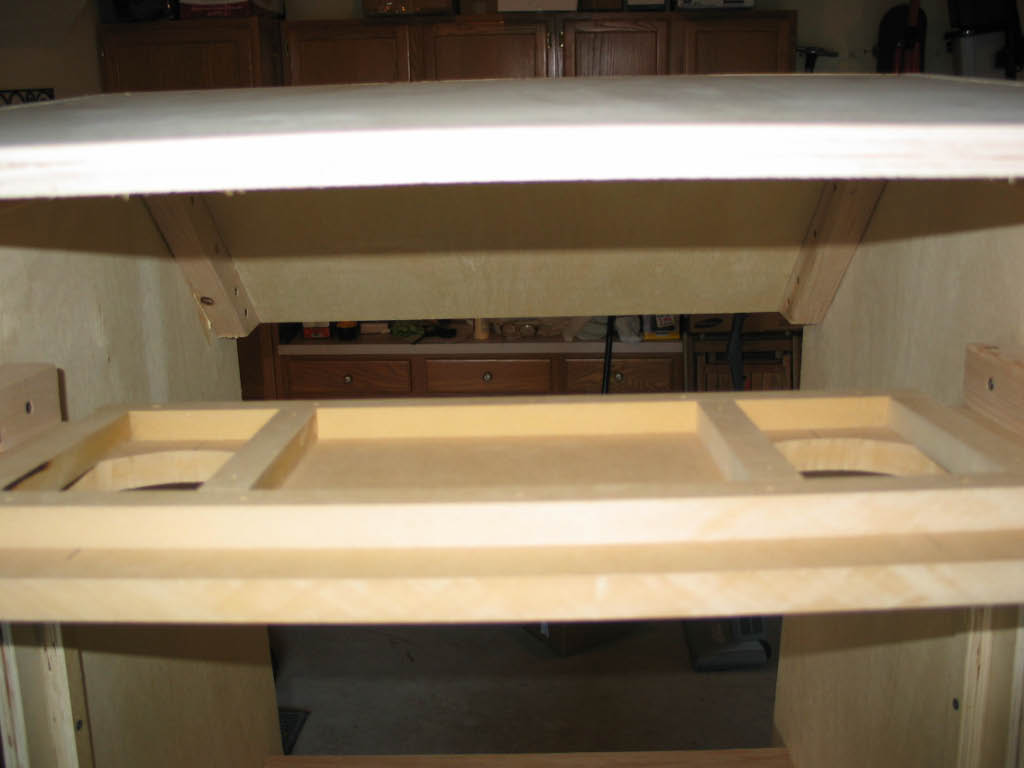
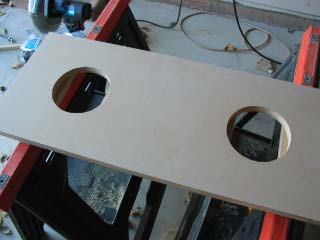
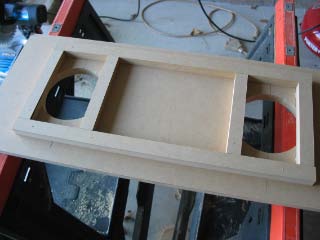
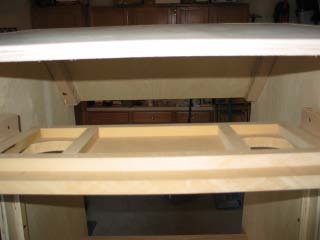
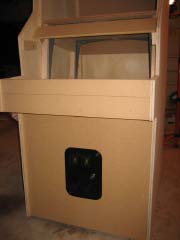
| Next up - the speaker shelf. I may have over engineered this piece -
but working with MDF and a nail gun makes this kind of work very simple. The holes were cut out with a
jig saw.
|
|
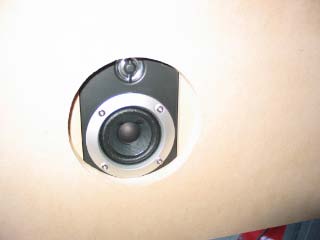
| The speakers are a relatively inexpensive set from Creative (Inspire T2900 2.1).
|
|
| Later, I'll cover the holes with a simple round black speaker grill.
|
|
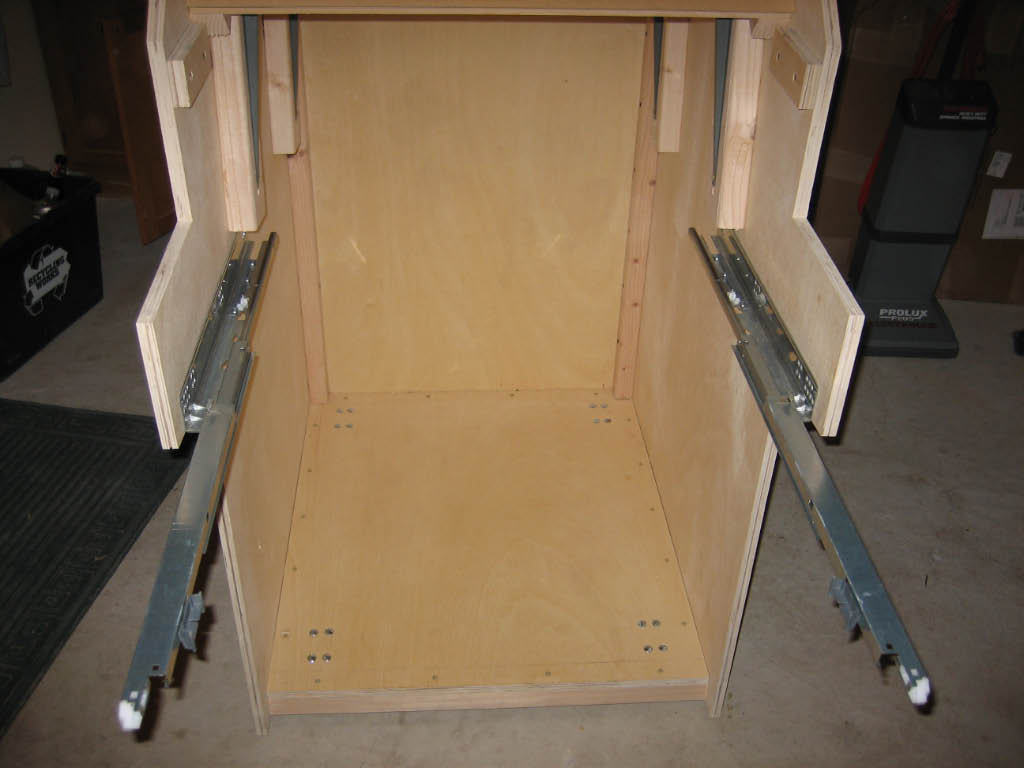
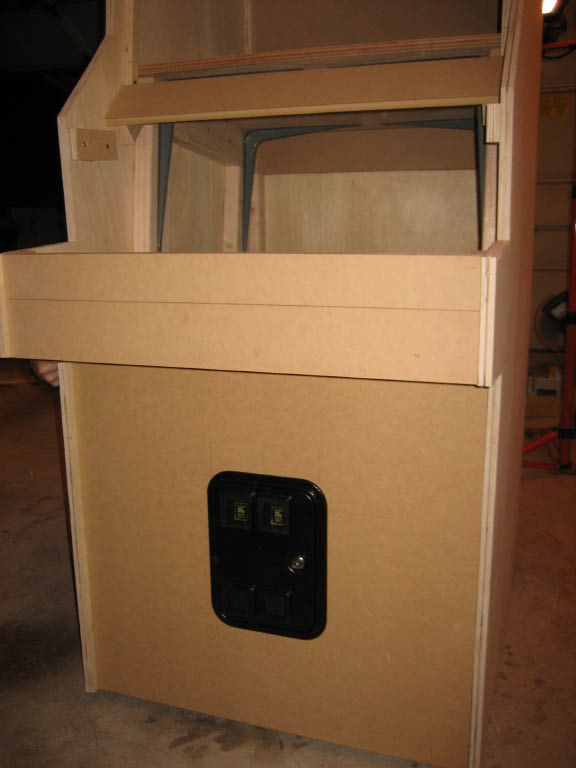
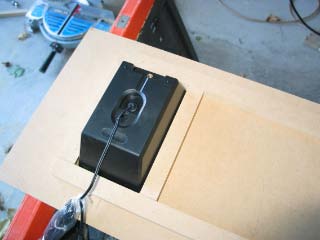
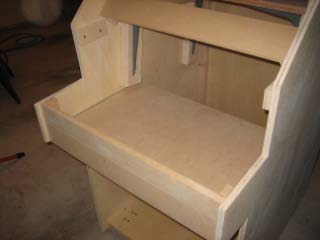
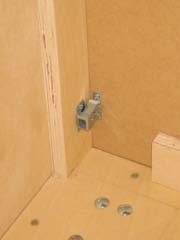
Normally, I'd consider the keyboard drawer an option that's not worth the effort
or expense, but in my case I had a really nice set of full extension drawer glides left over from our
kitchen renovation - so I put them to good use.
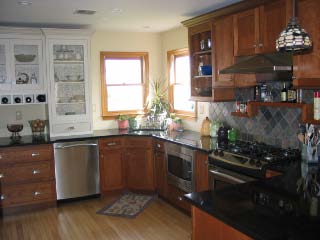
Speaking of the kitchen, that was my prior project - I did the installation, plumbing, and electrical
(with help from my Uncle) - but the design is all my wife!
|

|
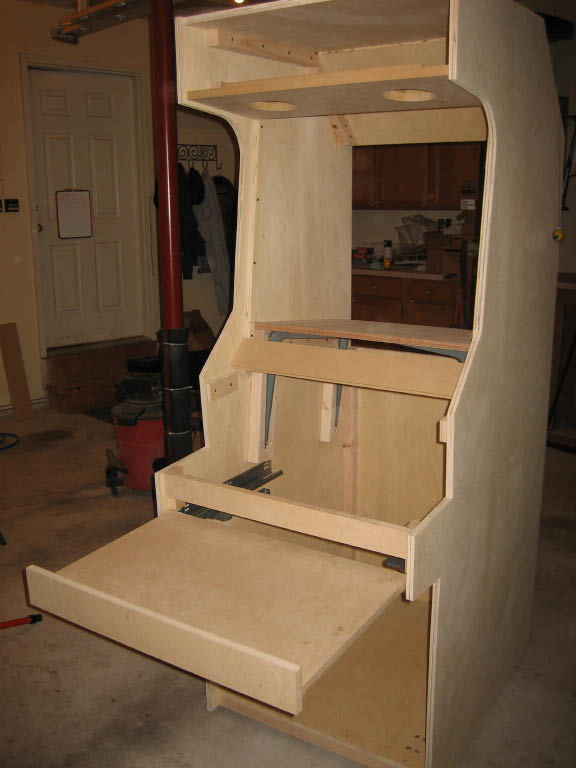
| So here's the keyboard drawer installed (also made out of MDF).
|

|
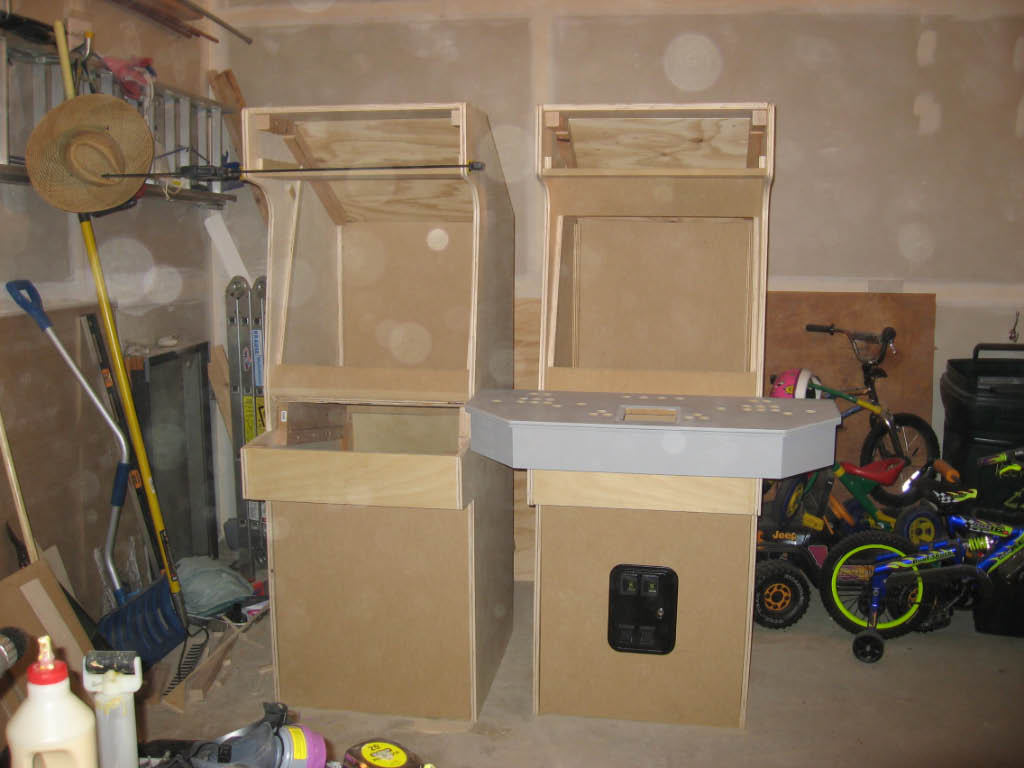
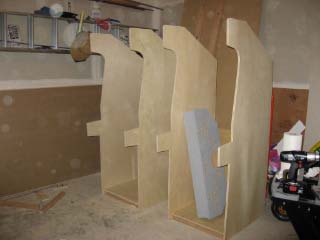
| At this point, I took a break from my project to help my friend with his -
The Way Back Time Machine x2.
In three days (approximately 17 hours), three of us completed two identical cabinets!
|

|
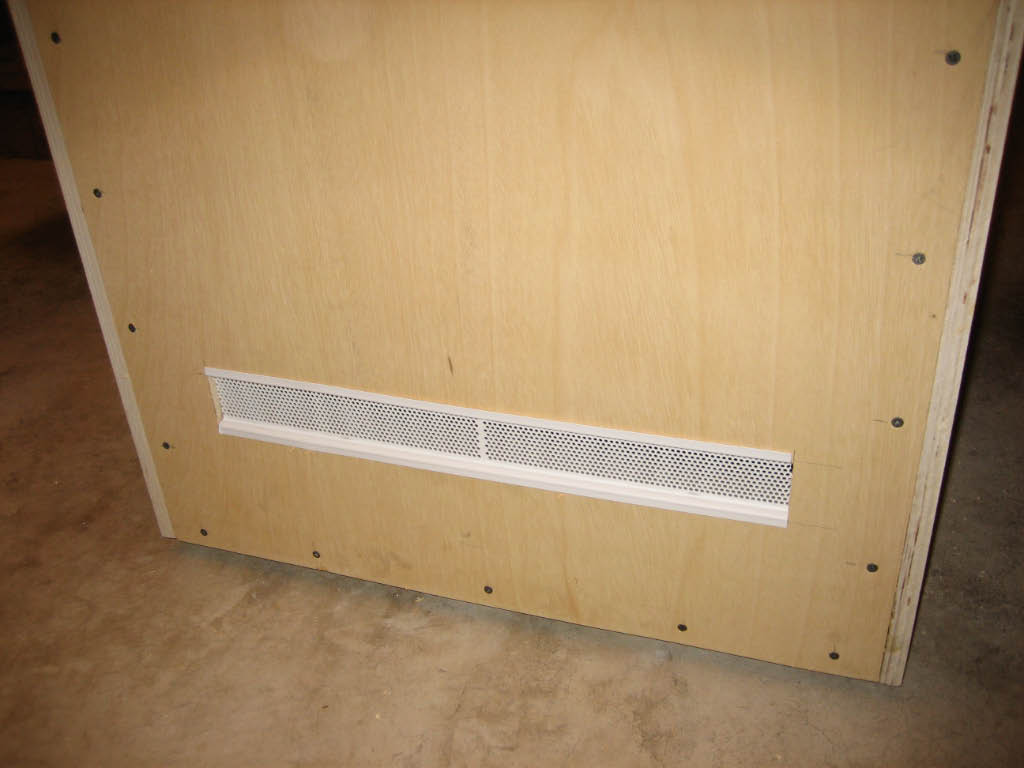
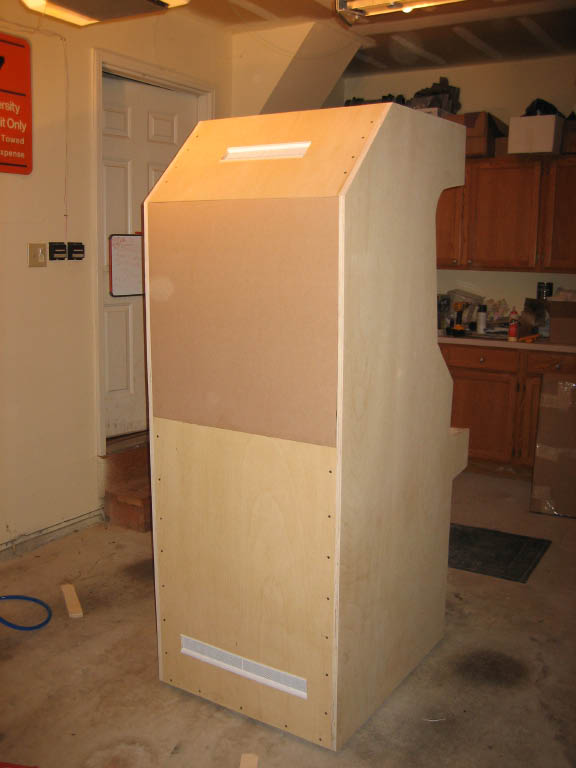
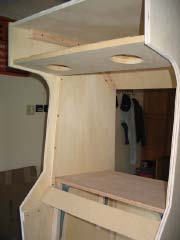
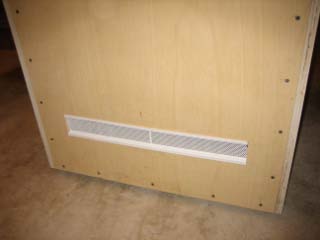
| Back to my project, all that's left to do is the front and back door panels.
I've also added a couple of vents in the back at the top and bottom. The vent grates were made from a
product used for the underside of a roof eve or siding - I found it at Home Depot.
|
|
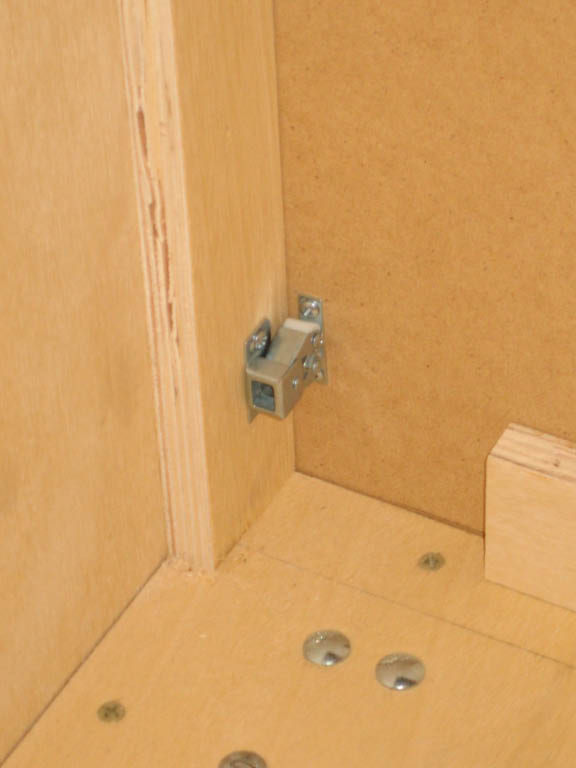
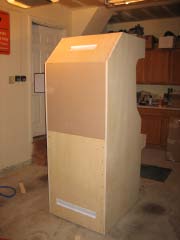
| And lastly - the front door panel. Rather than use a hinge, I went with simple
cabinet latches - so the entire door can be removed.
|
|
| And that completes the cabinet construction!
|