There are many different construction techniques for an arcade cabinet.
Some people use plywood, others use MDF. Some use metal corner brackets, others
use wooden corner braces. Screws, bolts, nails, and/or glue can secure it all together.
To keep the weight down, I decided to use cabinet grade plywood for the majority of the panels.
It has a thin veneer on one side which hides any knots or imperfections in the ply. The cost is around
$30 per 4x8 sheet - about $10 more than MDF. To secure the panels together, I ripped 2x4's into
2x2's for the corner braces. I used 2 inch coarse threaded drywall screws - securing from the inside
or outside depending on the visibility of the screw heads. Oh, and lots of wood glue!
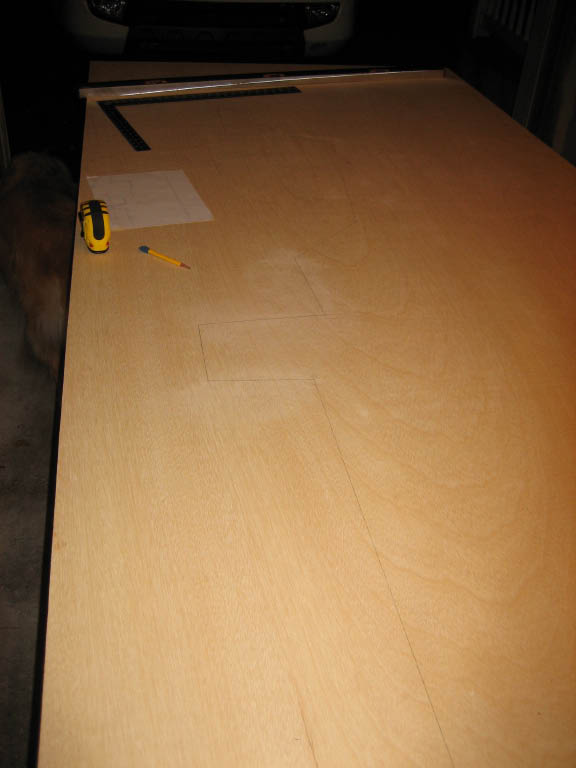
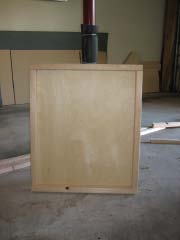
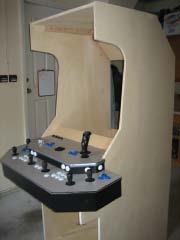
The side panels seemed like a logical start! I used a circular saw for most of the straight cuts, and
a jig saw for the curves or other cuts which the circular saw could not make.
|

|
| After the sides were cut, I clamped them on top of each other and used a belt
sander on the edges to "adjust" any imperfections. Then I sanded the surfaces lightly with a palm sander.
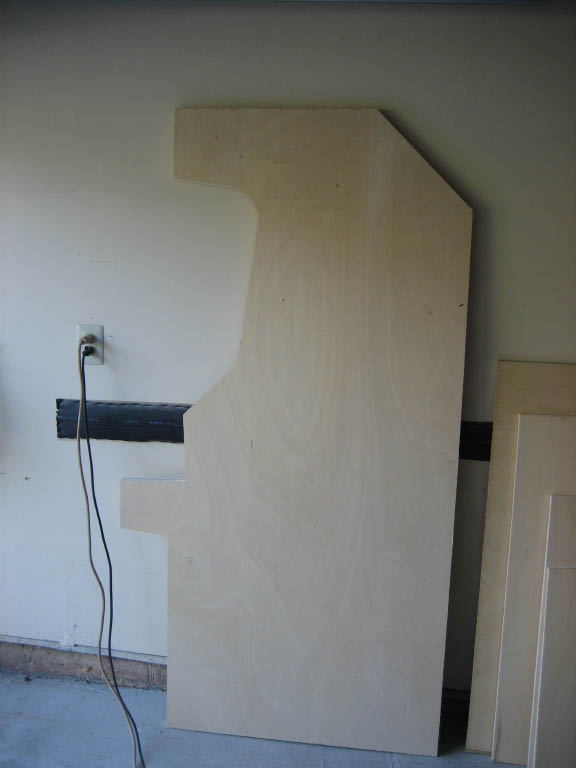
Lastly, I used the router with a 1/16 inch slot cutter bit to add the groove for the T-Molding.
After one day of work, I had the two identical sides panels completed.
|

|
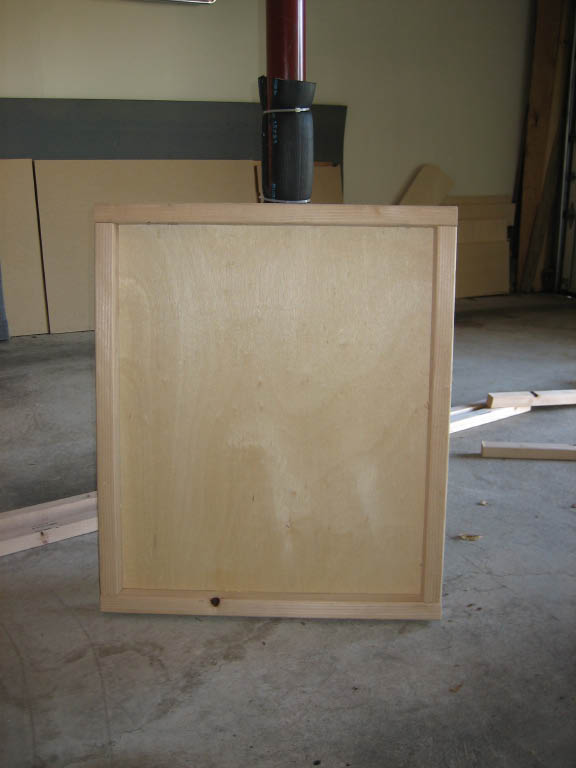
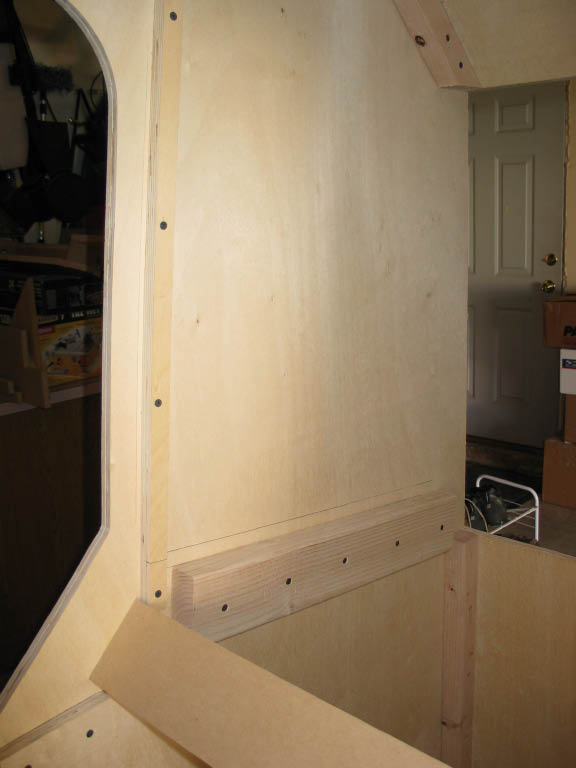
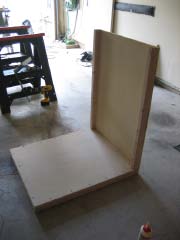
| For the next phase of construction, I enlisted the help of two close friends
and we started on the base and lower back panel. Since neither of these would be
visible, I pre-drilled holes into the plywood and screwed from the plywood into the 2x2 corner braces.
I also pre-drilled holes into the corner braces along the sides that would attach to the side panels.
|
|
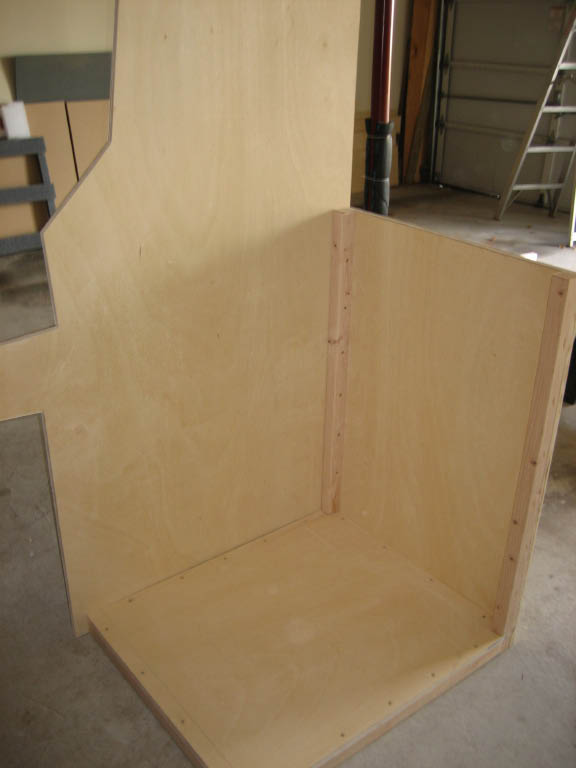
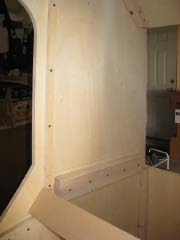
| The side panels were attached with the screws from the inside. The screws only
sink into the plywood for about a 1/2 inch, but once the glue sets up, the bond is more than adequate.
|

|
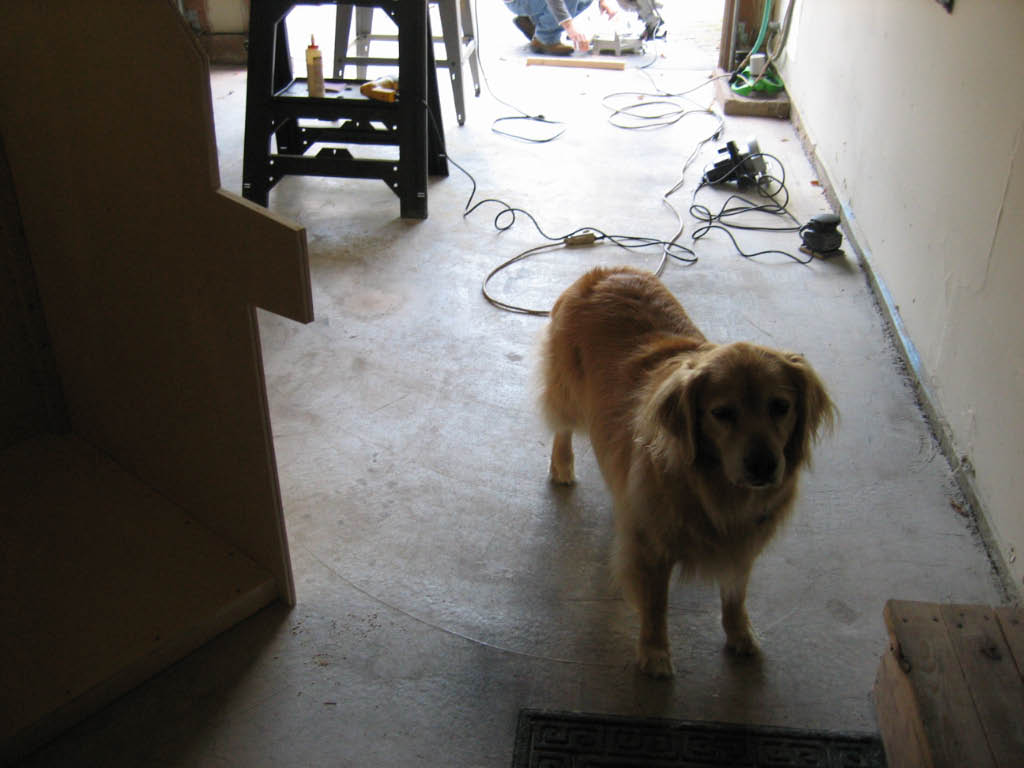
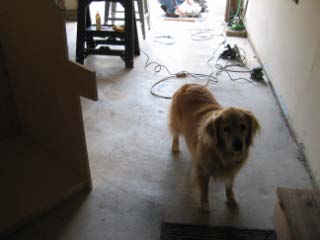
Our dog (Trixie) is normally terrified of power tools. But she braved the garage
for a minute to check out our progress!
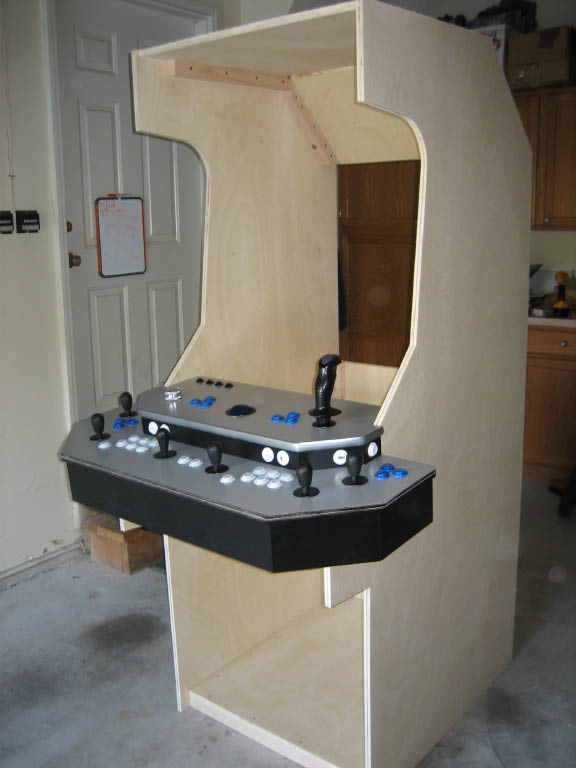
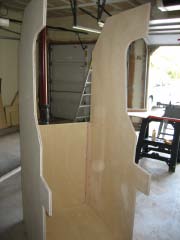
And the progress was looking good. We attached the top and angled back panel using
the same construction technique. Then it was time to see if the control panel fit - which it did!
|

|
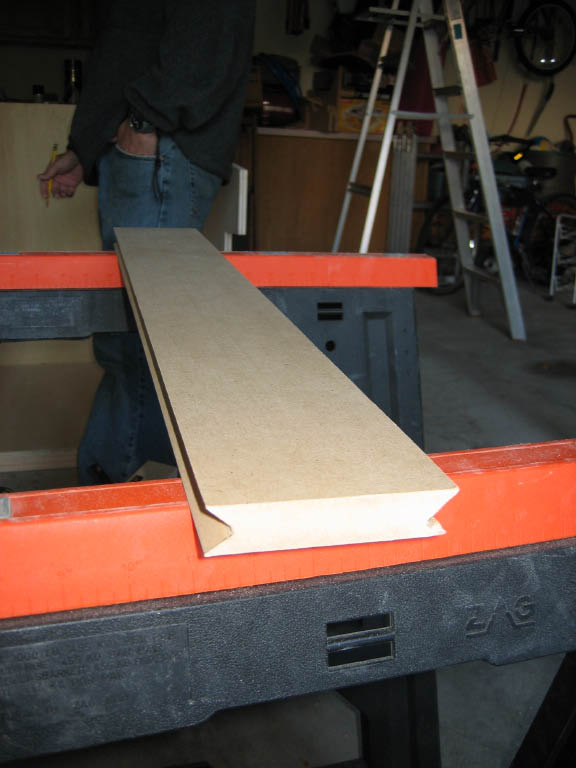
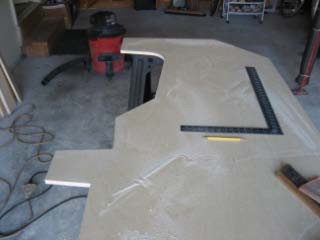
| This next piece was probably the most difficult to cut. It's the short
panel that connects the control panel to the monitor bezel and glass. Both edges required a concave
angle cut - so I used MDF rather than the plywood. The cut was done using a table saw with the blade
set low and at the correct angle.
|

|
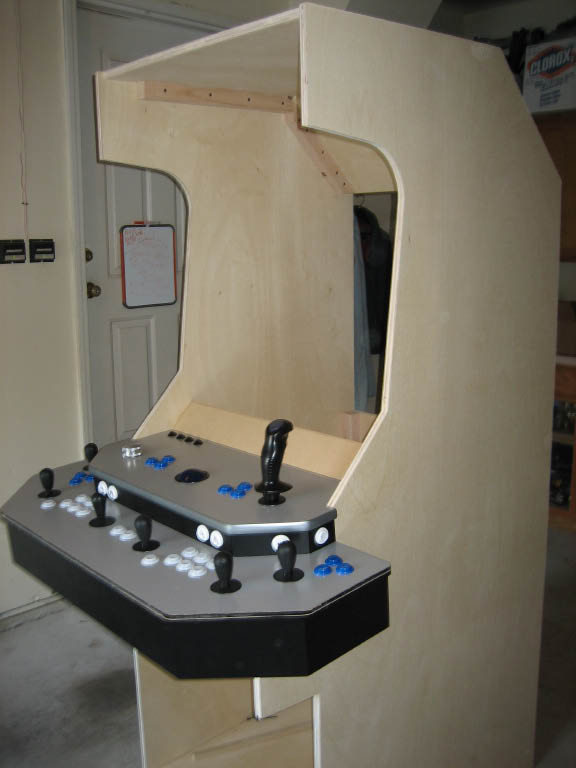
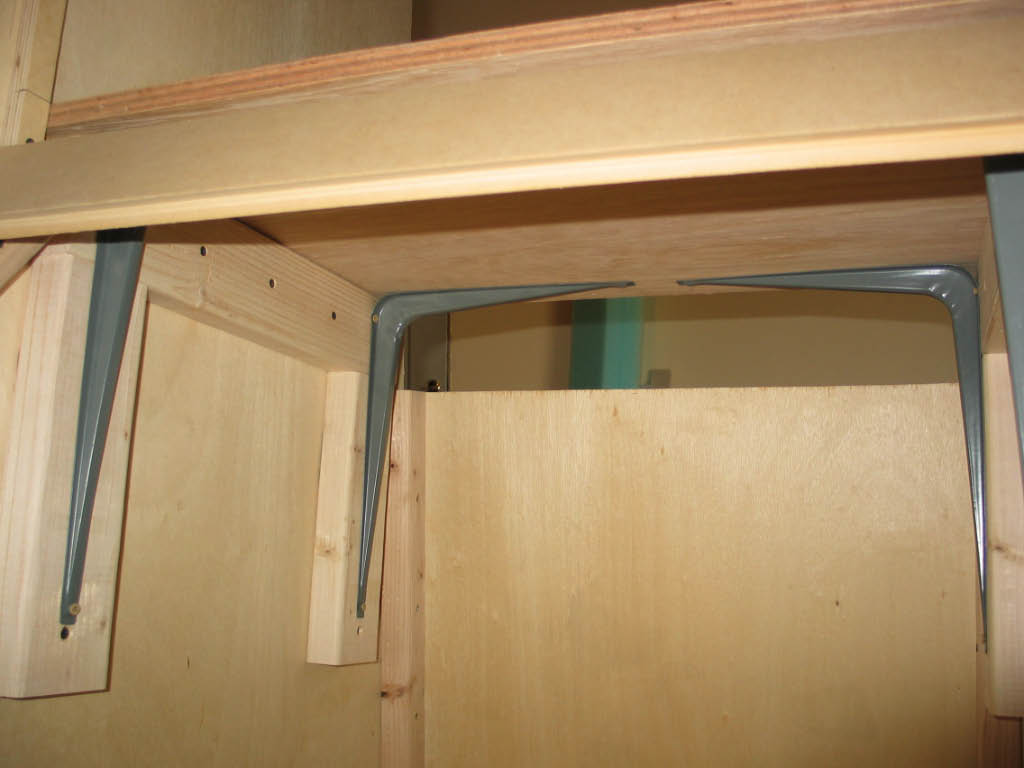
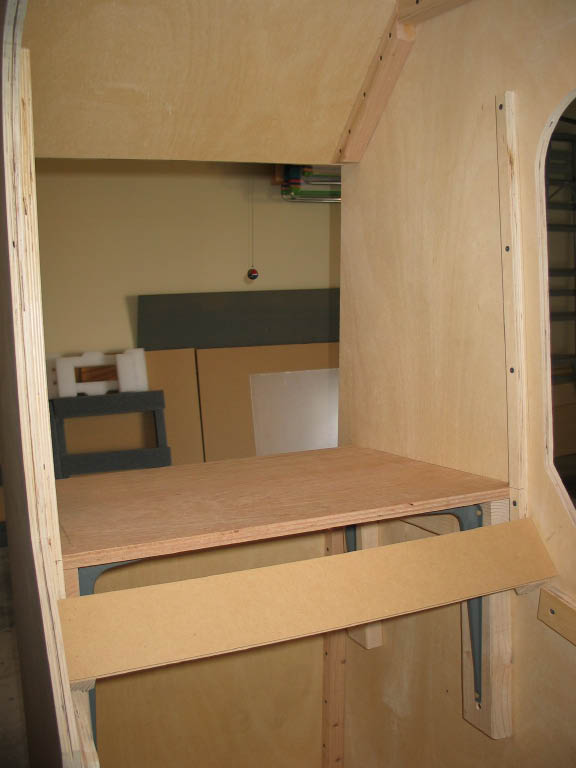
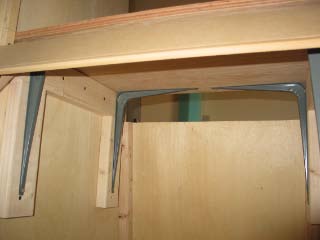
In this next picture, you can see the support braces for the top of the cp,
the monitor bezel, and the monitor shelf.
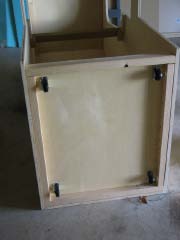
The more we added, the heavier the cabinet became. So it made sense to add the
wheels - that way I could move it around the garage by myself. The wheels are attached to the base
using carriage bolts.
|
|
| Construction continued with the monitor shelf. Here I think we went a
bit overboard - let's just say that the shelf could support a 300 pound monitor if necessary!
|

|